In this section we will compile and run a simple C# program just to see how this process is done.
Note: we use the Microsoft Visual Studio IDE.
-
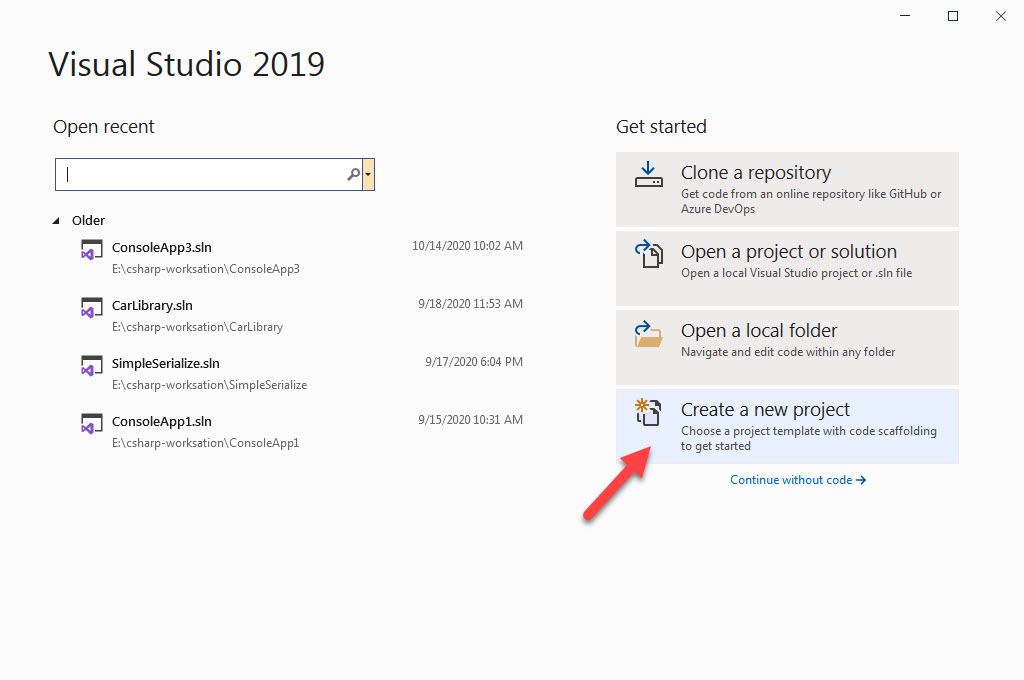
Run the Visual Studio.
-
From the opened window, select the `Create a New Project` to move
into the next window.
-
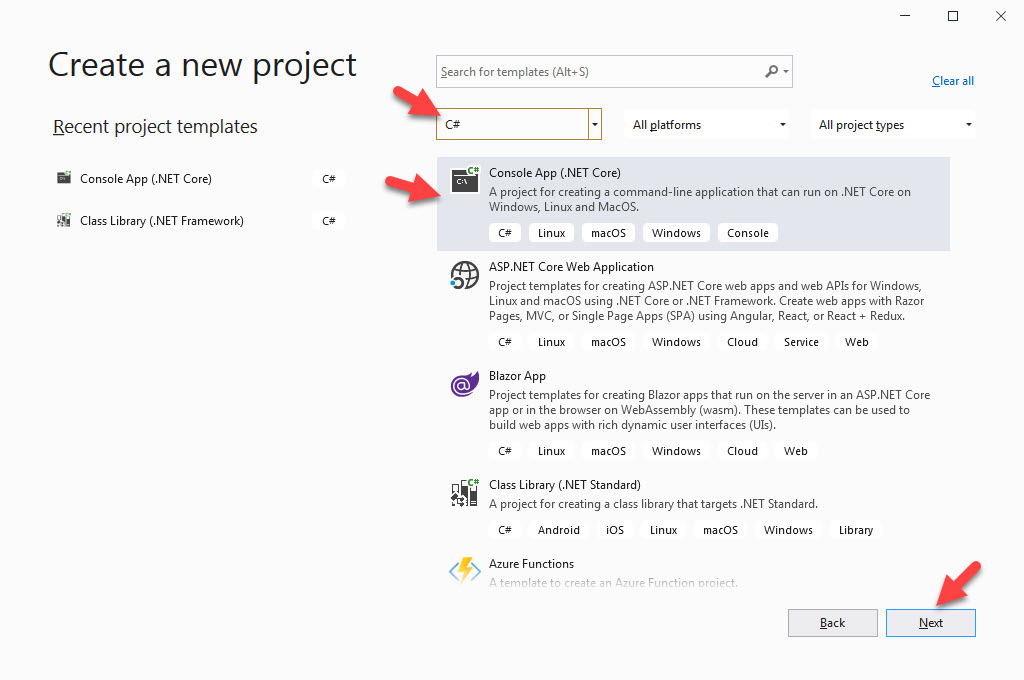
In this window, in the first drop down menu select the C#
(Because we want to work with this language). After that select `Console
App (.Net Core)` and hit the next button.
-
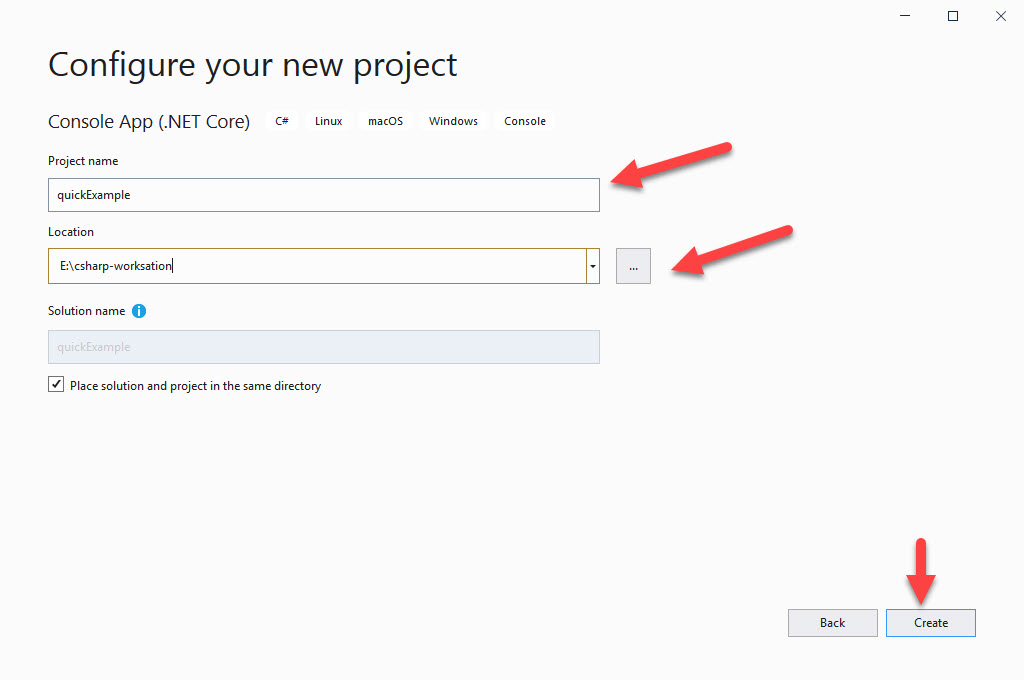
In the next window, in the first text box we need to set the name
for our application project. You can choose whatever name you want but
for now we set the name to `quickExample`.
Also in the second text box we set the value for the location in which we want the project to be stored. After that hit the create button.

-
Now we’re in the IDE and can start to write our C#
program.

-
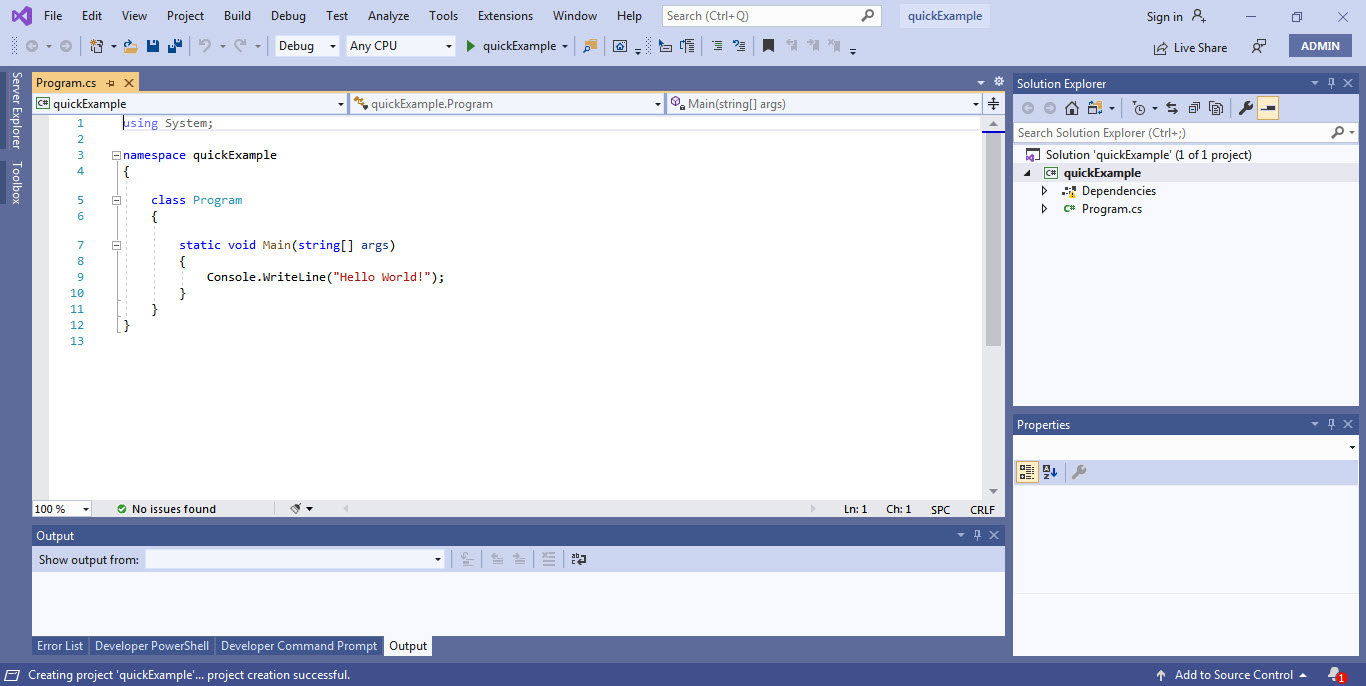
Here before we even try to write a code, the IDE itself brought a
boilerplate that can be executed.
In the Syntax section (which is the next section) we will explain what this program does in greater details but for now just remember that it will send the Hello World! message to the console.
Note: More specifically this program sends the Hello World! message to the default output of the operating system. This output for the majority of operating systems is the console.
-
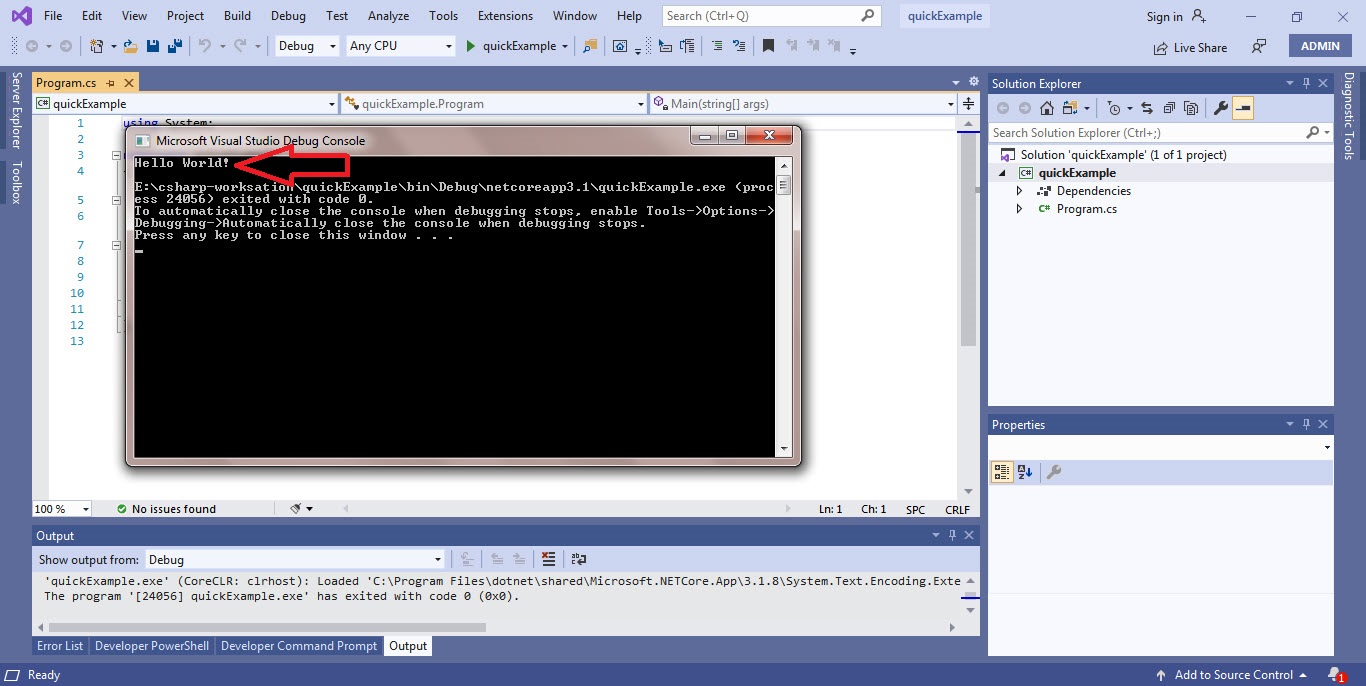
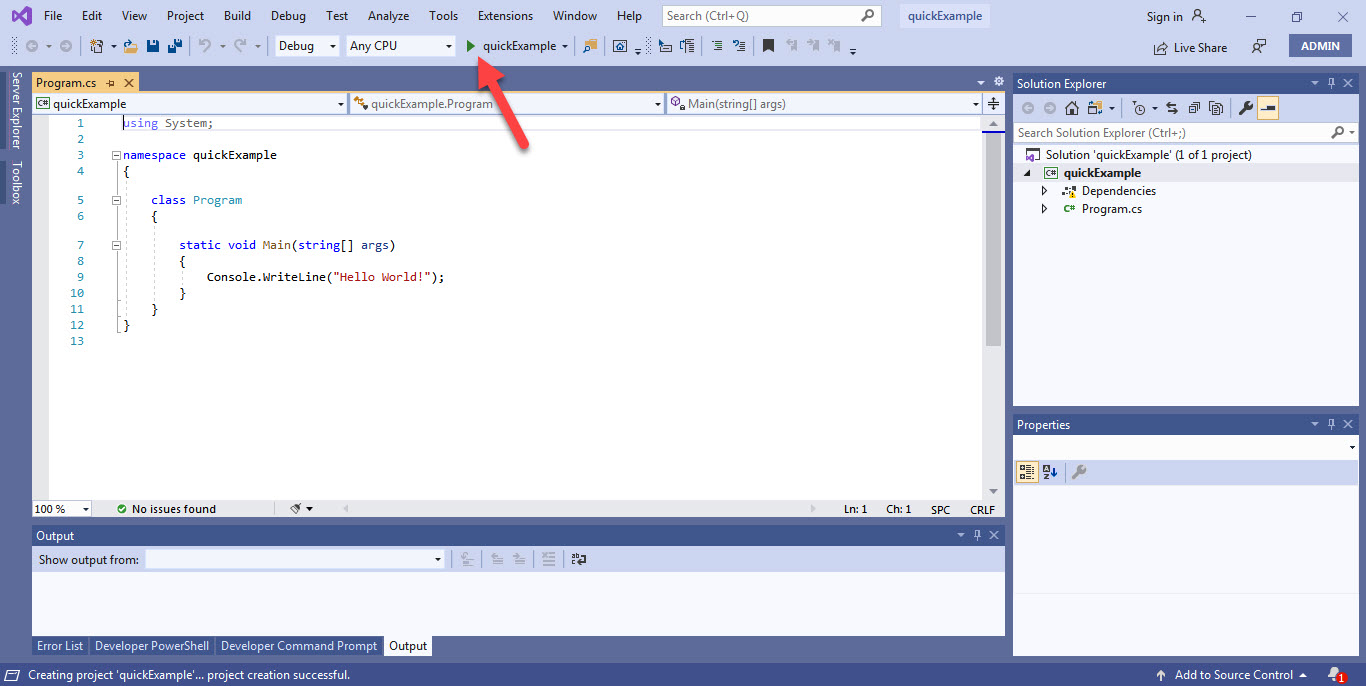
To compile and run this program, hit the `quickExample` button on
top of the IDE.
Note: you can also hit the F5 key on your keyword.
-
If you got the message `Hello World!` on the output (console)
then congratulation, you’ve successfully ran your first C#
program.